
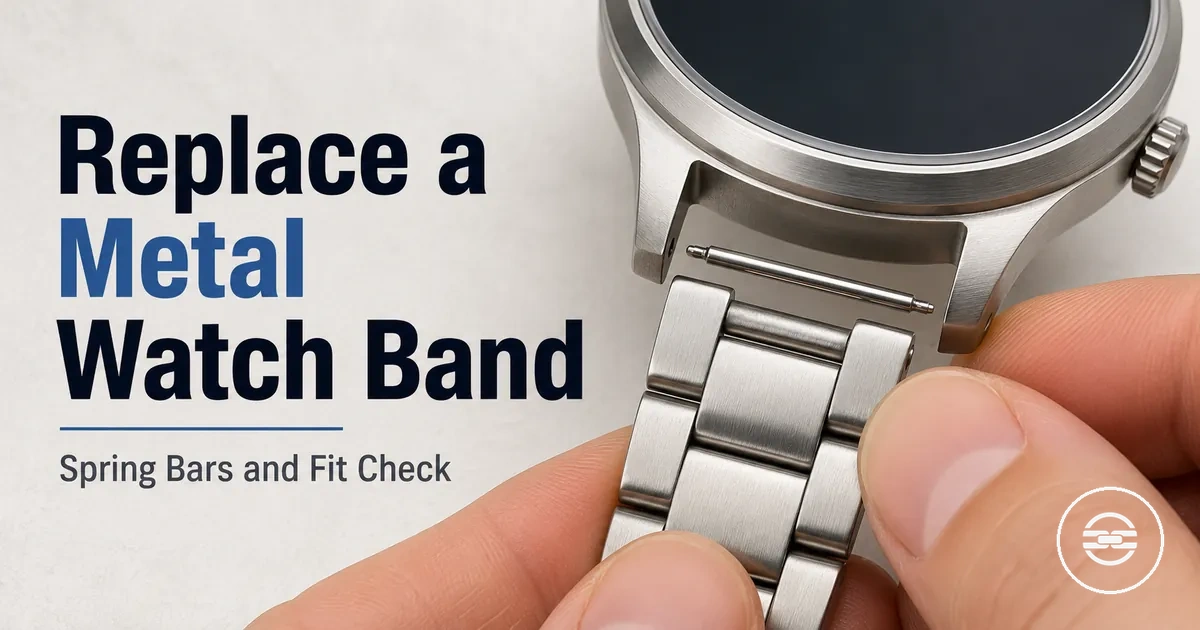
Metal Watch Band Replacement
Metal watch band replacement is usually possible when the replacement band, spring bars, and tools match the watch. Safe replacement depends on correct fit and careful tool control.
Metal watch band replacement means removing an existing watch bracelet from the watch case and installing a compatible replacement band between the lugs. Compatibility may depend on lug width, spring bar type, end shape, and access around the watch case. Replacement is not the same as resizing links or repairing a damaged clasp.
Before removing or fitting a replacement band, it helps to confirm compatibility between the watch case, lugs, spring bars, and band design. A careful approach can reduce the risk of damage and ends with a fit check to confirm the spring bars are seated securely. The following sections explain the scope, compatibility, and case-fit considerations in more detail.
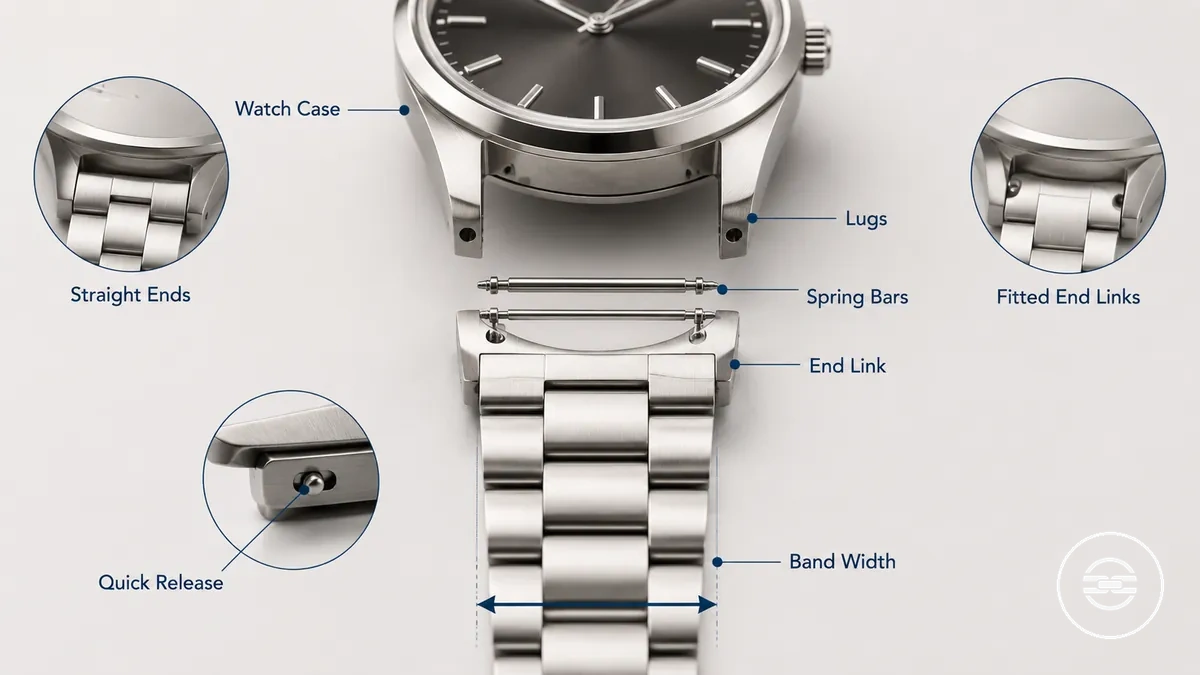
If the watch uses quick release spring bars, fitted end links, or hidden spring bars, the replacement method may differ slightly. The correct approach depends on the watch case design and available spring bar access.
Replacement Scope and Watch Case Fit
Replacement scope defines what metal watch band replacement includes before installation begins. It covers replacing the existing band with a compatible replacement band while evaluating the watch case, lugs, spring bars, end links, straight ends, quick release pins, and band width for proper fit. Watch case fit is the governing condition because each of these parts influences how the replacement band seats against the case.
Replacement scope does not include resizing links, repairing a damaged clasp, or troubleshooting unrelated watch damage. Instead, it establishes the limits of the replacement task and the fit conditions that should be confirmed before installation. For broader information about metal watch bands, this section defines where replacement ends and the wider product category begins.
When fitted end links or hidden spring bars are used, replacement may require more attention to case clearance and spring bar access than a band with straight ends or exposed quick release pins. These design differences can affect installation difficulty, so careful handling should match the specific watch case and replacement band configuration.
Tools and Parts Needed Before Replacement
A safe metal watch band replacement usually starts with the correct tools and matching parts rather than a complete kit. The tools needed depend on whether the watch uses spring bars or screw-style fittings. Preparing the right items before removal can help reduce scratch risk and improve spring bar control.
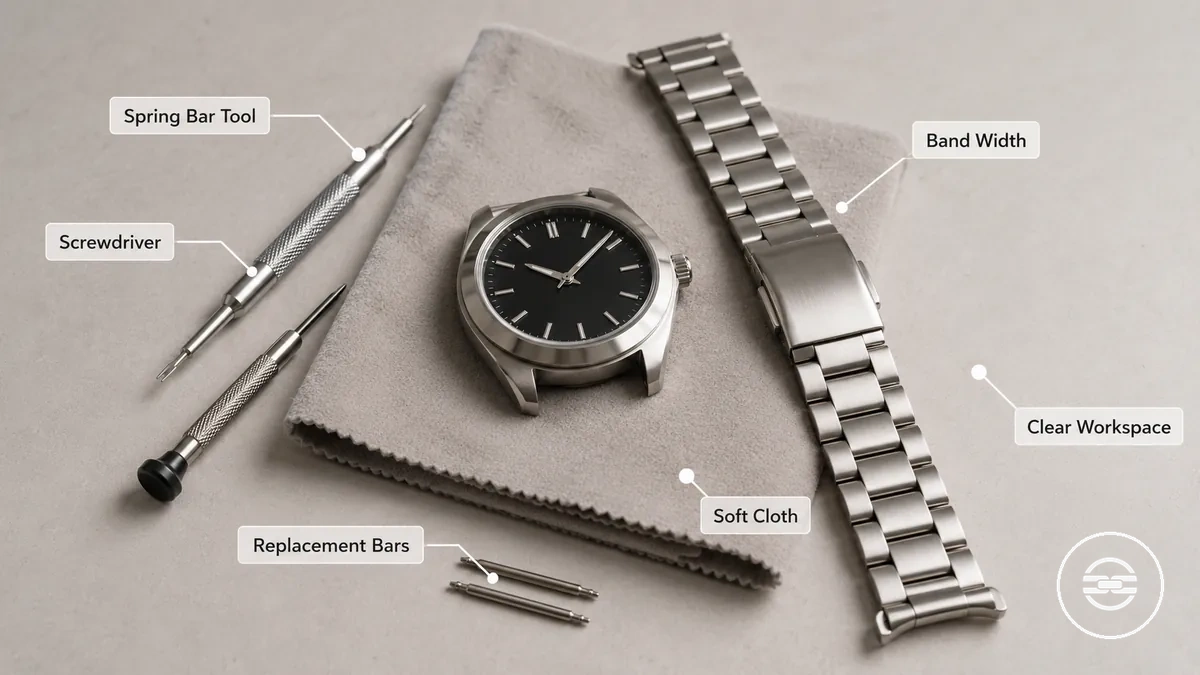
The fastening style determines which tool is appropriate. A spring bar tool is commonly used for spring bar fittings, while a screwdriver may only be needed for screw-style fittings. A soft cloth or protective mat helps protect the watch case, and a clear workspace improves visibility when handling small parts. Before removing the band, confirm the correct band width and check whether replacement spring bars match the replacement band and watch. Use the following checklist to confirm readiness.
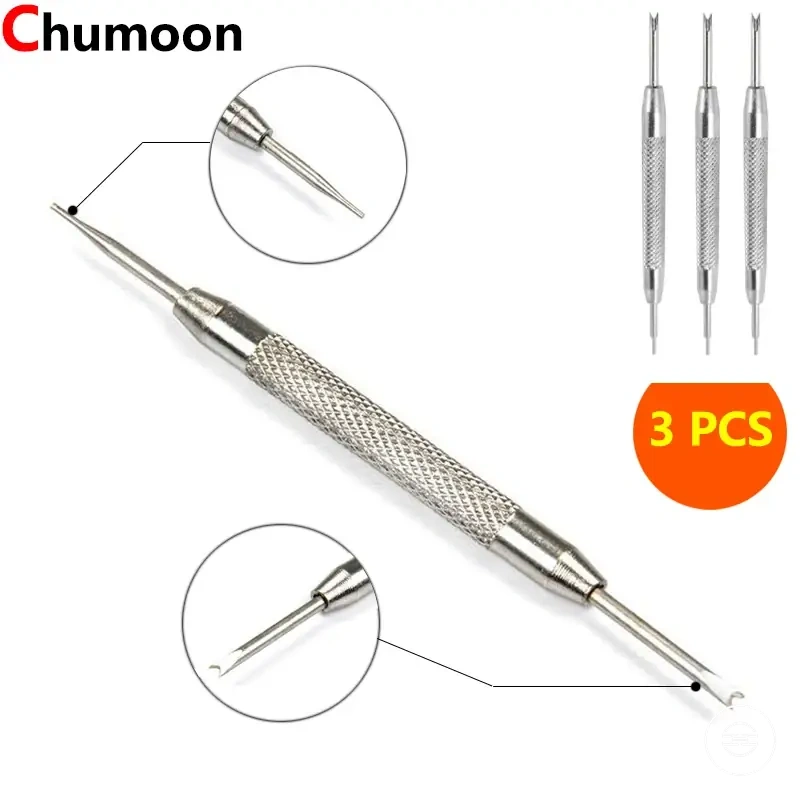
- Spring bar tool: Compresses spring bars for removal and installation; it may not apply to screw-style fittings.
- Screwdriver: Used only when the watch has screw-style fittings; use the correct size to reduce the chance of stripped screws.
- Soft cloth or mat: Protects the watch case and creates a stable work surface; a protective mat serves the same purpose.
- Replacement spring bars: Replace worn or damaged spring bars when needed; reuse depends on their condition and compatibility.
- Correct band width: Verifies that the replacement band matches the distance between the lugs for secure fit.
- Clear workspace: Improves control and visibility; avoid improvised tools that can increase scratch risk or reduce spring bar control.
If a spring bar, screw, or fastening method cannot be identified or released safely, stop before applying additional force. When checking metal watch band pins and end links, seek professional assistance if the connection remains stuck or unclear.
Spring Bar Tool, Screwdriver, and Safe Tool Alternatives
The correct tool depends on the fastening point used by the watch band. A spring bar fork, pin pusher, or small screwdriver may each suit a different fitting, so access space and control are the main selection criteria.
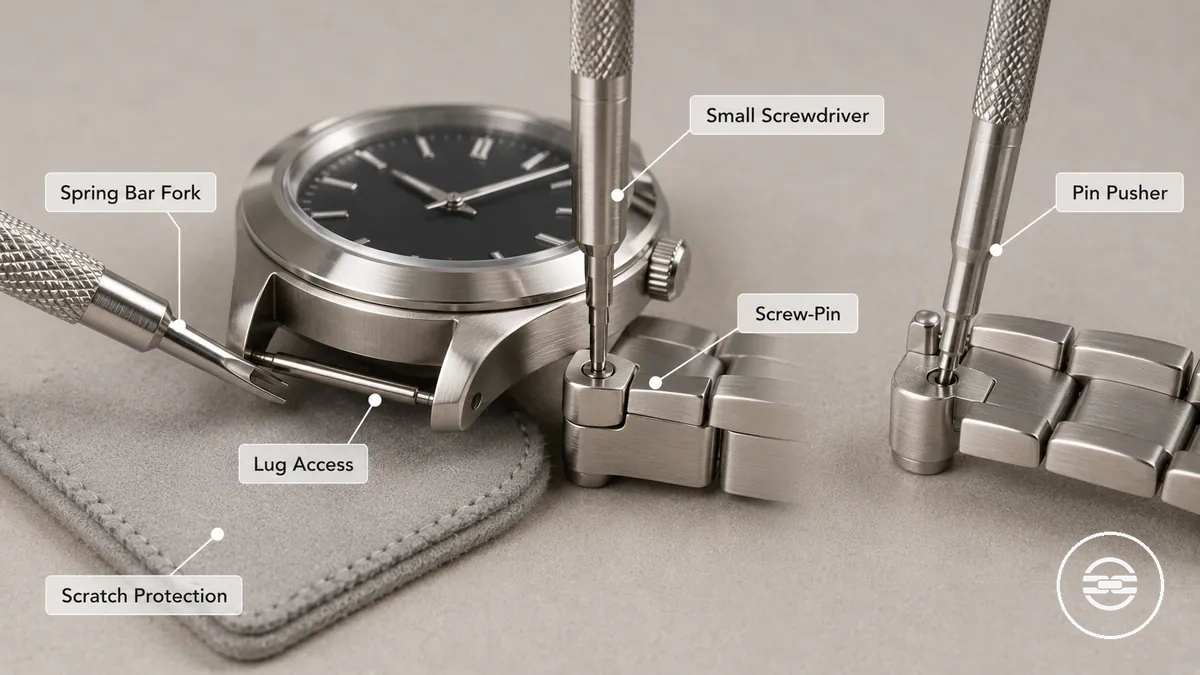
Improvised tools can increase slip and control risk because they may contact the watch case outside the intended point. Tool tip shape should match the fastening design, whether the band uses a spring bar shoulder or a screw-pin, to improve scratch protection and control. The comparisons below show which fastening situation each tool is intended to match.
- Spring bar fork: Use for spring bar shoulders when lug access space is available; control the fork tip to reduce scratch risk.
- Pin pusher: Use where direct pin compression is required; limited access space can increase control risk.
- Small screwdriver: Use only with screw-pin fittings; stop if the tool does not fit securely to reduce the chance of a stripped screw head.
- Spring bar tool: Match the tool tip to the fastening design rather than relying on one tip shape for every watch.
- Tool alternatives: Use caution because improvised tools can slip, scratch the case finish, or deform small parts more easily than purpose-made watch band tools.
Replacement Spring Bars and Band End Requirements
Replacement spring bars must match both the watch and the band end, not only the visible band width. Spring bar length, diameter, and end style each affect how the band seats in the lug holes. When these parts match the fitting design, they can provide more secure seating.
Band end requirements describe how the band end shape and replacement spring bars work together during installation. A straight end, curved or fitted end, and quick release pin each depend on shoulder access, clearance, and alignment, so compare the part requirements below before fitting replacement spring bars. Visible band width alone does not confirm that the spring bar matches the watch and band end.
| Part or requirement | What to check | Why it matters |
|---|---|---|
| Spring bar length | Confirm the length matches the spacing between the lug holes and the band end. | Correct seating depends on the spring bar reaching both lug holes. |
| Diameter | Check that the diameter fits the band end hole and the watch. | An unsuitable diameter may affect seating or allow unwanted movement. |
| Shoulder access | Verify there is enough shoulder access for tool reach during removal and installation. | Better tool access can improve installation control. |
| Straight end spacing | Check that the straight end aligns with the lug spacing. | Proper alignment supports stable seating. |
| Fitted end limits | Confirm the band end shape matches the watch case design. | Curved or fitted ends may have limited compatibility when the case shape differs. |
| Quick release pin integration | Check that the quick release pin has enough clearance and matches the band end. | Clearance and compatibility can affect installation and operation. |
For a broader evaluation beyond spring bars and band ends, review metal watch band compatibility, because replacement spring bars must match both the watch and the replacement band rather than the visible band width alone.
Compatibility Checks Before Installing the New Band
Compatibility checks should be completed before force is applied to the watch case. The new metal band must suit the case, lugs, spring bars, and band end design. These variables determine whether installation should proceed.
Matching the lug width or millimetre width alone is not enough because a band may still fail to seat when the fitted end shape or spring bar position differs from the watch design. A straight end may allow more open clearance, while a fitted or curved end depends more closely on the case shape and lug placement. Review metal watch band compatibility when width and end-shape criteria need to be checked together. Use the checklist below as a pre-install go/no-go check.
- Lug width: Confirm the band matches the measured lug width; a mismatch may prevent seating or create an uneven gap.
- Band end design: Check whether the watch requires a straight end or fitted end shape; the wrong shape may contact the case or fail to align.
- Spring bar position: Verify that the spring bar aligns with the lug holes; poor alignment can increase force and reduce secure engagement.
- Bracelet articulation: Confirm the first links can move near the case without binding; restricted bracelet articulation may cause rubbing or limited movement.
- Quick release lever clearance: Check that the lever remains accessible and does not rub the case; limited clearance can interfere with installation or removal.
With quick release or fitted ends, case compatibility depends on the model, band construction, and available clearance around the lugs. If the end piece, spring bar, or lever does not align without pressure, stop and recheck the fit conditions before continuing.
Lug Width and Straight End Fit
Lug width and straight end fit must let the replacement band sit between the lugs without force. A millimetre measurement identifies the available lug spacing, while straight end clearance shows whether the band can seat and move. Measurement and clearance are the local fit criteria.
If the old band width is used as a reference, verify it against the watch because a previous band may not reflect the intended lug width or end shape. Curved, integrated, or unusual lug designs may require model-specific confirmation because the case shape can limit clearance around a straight end. Use the watch or band specification when the lug design creates uncertainty.
For full measuring guidance beyond this installation check, review metal watch band sizing. Check measurable width and visible end clearance as follows:
- Lug width: Confirm the replacement band corresponds with the millimetre measurement between the lugs; a mismatch may prevent the band from seating without force.
- Gap tolerance: Inspect the visible gap at each side; an uneven gap or direct contact may indicate poor seating, while a small even gap may be mainly visual when movement remains unrestricted.
- Straight end clearance: Verify that the straight end clears the watch case; contact may restrict installation or movement.
- Band shoulder: Confirm the band shoulder can articulate near the lugs; binding can indicate insufficient end clearance.
Quick Release Fit and Spring Bar Position
A quick release metal watch band depends on sufficient lever clearance and correct spring bar alignment. The integrated spring bar must reach and seat in both lug holes to achieve secure lug-hole seating.
If the quick release lever rubs against the case or cannot be accessed after installation, the band thickness or spring bar position may not suit the watch case. Standard spring bars can be removed independently, while a fixed-in-band pin relies on the built-in quick release lever and available clearance for access. Do not force the band if the lever, case edge, or spring bar does not align.
Check lever access and seating before installation:
- Lever clearance: Confirm the quick release lever clears the case and remains accessible; poor clearance may cause case rubbing or prevent controlled removal.
- Spring bar alignment: Check that both ends align with the lug holes before pressure is applied; misalignment may prevent secure seating or increase installation risk.
- Lug-hole seating: Verify that both spring bar tips engage the lug holes; incomplete engagement may allow unwanted movement.
- Band thickness: Check that the band near the case has enough clearance to sit and articulate; excessive contact may restrict movement or affect installation.
- Fixed-in-band pin: Confirm the integrated spring bar suits the lug position and case design; a fixed-in-band pin offers limited adjustment when the built-in position does not align.
How to Remove the Existing Metal Watch Band
To remove the existing metal watch band, release the retaining mechanism without forcing the watch case. Stabilize the watch on a soft cloth before any tool touches the lugs, and keep lug protection in place throughout the removal. Controlled handling protects the watch case and helps prevent lost parts.
Most old band designs use spring bar compression, while others use a screw-pin exception that requires the correct screwdriver instead of spring bar release. If a spring bar remains stuck or resists compression, stop before extra pressure damages the lug or end link. Follow the steps below for controlled separation and safe handling.
- Position the watch case: Place the watch face down on a soft cloth and confirm it is stable before touching the retaining mechanism.
- Protect the lugs: Apply lug protection where the tool contacts the watch case to reduce scratch risk during spring bar compression.
- Compress or release the retaining mechanism: Compress the spring bar at its shoulder, or use the appropriate screwdriver when a screw-pin exception is present. Stop if the fitting appears to be integrated or does not match the expected mechanism.
- Separate the old band: Guide the old band away from the lug only after the retaining mechanism has released. Keep the separation controlled so the spring bar does not eject unexpectedly.
- Inspect the removed parts: Check the spring bars or screw-pin components for visible wear before deciding whether they are suitable for reuse.
- Store removed parts safely: Place the old band, spring bars, screws, and other small parts in a secure container to prevent loss before installation begins.
How to Install the Replacement Metal Watch Band
Install the replacement metal watch band by seating both spring bar ends securely in the lug holes. Begin only after confirming the replacement band, spring bars, and watch case are compatible and ready for installation. Maintain alignment and controlled spring bar movement throughout the process.
If a spring bar does not align or appears to seat incorrectly, reposition it before applying more pressure. Standard spring bars and quick release designs may require different handling, so verify lug-hole engagement instead of relying on a click or sound alone. Follow the steps below before moving to the fit check.
- Insert the spring bars: Place the spring bar ends into the replacement band and confirm each spring bar is fully seated before positioning the band at the watch case.
- Seat the first spring bar end: Position one spring bar end in its lug hole and check that it remains engaged while the opposite end is aligned.
- Compress the opposite spring bar end: Compress the remaining spring bar end using the appropriate method for the fitting and guide it carefully between the lugs without scratching the watch case.
- Align and release: Align the compressed spring bar end with the opposite lug hole and release it under control. Verify that both spring bar ends are seated in the lug holes before proceeding.
- Repeat on the second side: Install the second side of the replacement band using the same sequence and confirm secure engagement before releasing the spring bar completely.
- Complete the fit check: Confirm the installed band moves naturally at both lugs without unexpected release or uneven seating, then continue with the dedicated fit check.
Installing a Band with Standard Spring Bars
Standard spring bars are installed by seating one side first and compressing the other into the opposite lug hole. Insert the separate spring bars through the band end, keep the spring bar level during installation, and avoid pressure against the case finish. Finish by verifying lug-hole engagement before relying on the installation.
Install standard spring bars with the following local method:
- Seat one side first: Insert one spring bar end into the first lug hole and confirm it remains seated before positioning the opposite end.
- Compress the spring bar shoulder: Compress the spring bar shoulder while guiding the opposite spring bar end toward the second lug hole, keeping the bar level throughout the movement.
- Release into position: Allow the spring bar end to enter the opposite lug hole under control while avoiding contact with the case finish.
- Verify lug-hole engagement: Apply a light tug to the band end. If the spring bar appears seated but still moves, it may not be fully engaged and should be repositioned before continuing.
Installing a Quick Release Metal Watch Band
A quick release metal watch band is installed by using the lever to compress the integrated spring bar during fitting. Align the fixed end first, then use the lever to position the compressed end in the opposite lug hole. Finish by verifying lug-hole seating and lever clearance before relying on the installation.
Install the quick release mechanism with the following local method:
- Align the fixed end: Seat the fixed end of the integrated spring bar into the first lug hole and confirm it remains engaged.
- Pull the lever: Use the lever to compress the integrated spring bar while sliding the compressed end between the lugs. Check that the band stays aligned during insertion.
- Release into the lug hole: Release the lever gradually so the compressed end seats in the opposite lug hole, then verify both ends are engaged.
- Check lever clearance: Confirm the lever remains accessible and does not stay exposed or rub against the case. If it does, reposition the band before continuing.
How to Check Fit After Replacement
Fit after replacement must confirm both secure case seating and comfortable wrist wear. Check the watch case connection before judging wrist feel. A complete fit check should cover both the case and the wrist.
If you notice side-to-side movement after installation, inspect lug seating, spring bar engagement, and any visible end gap before wearing the watch. A small end gap may be acceptable depending on the band and watch fit, but movement or incomplete engagement indicates the connection should be rechecked. Use the checklist below to confirm the installation.
- Lug seating: Confirm both ends of the band sit evenly against the lugs. Uneven seating indicates the band should be repositioned.
- End gap: Check for a consistent end gap where the band meets the case. A uniform gap may be acceptable for some band designs, while obvious misalignment requires further inspection.
- Side-to-side movement: Gently move the band near the case. Excessive movement can indicate the connection needs another check.
- Spring bar engagement: Verify each spring bar is fully engaged in its lug hole. Incomplete engagement means the band should not be worn until corrected.
- Clasp closure: Close and reopen the clasp to confirm it locks and releases as intended without opening unexpectedly.
- Wrist tightness and articulation: Check that the band articulates naturally near the case and feels comfortable on the wrist. If the case fit is secure but wrist comfort is not, link adjustment may be the next step.
If the band fits the case securely but still feels too loose or too tight on your wrist, the installation may be correct while the sizing still needs adjustment. Stop wearing the band if movement, discomfort, or poor spring bar engagement remains after rechecking. If link adjustment or measurement is needed beyond the replacement check, see metal watch band sizing.
A replacement band is ready for regular wear only after both the case connection and wrist comfort have been verified. Recheck any condition that raises doubt before continued use.
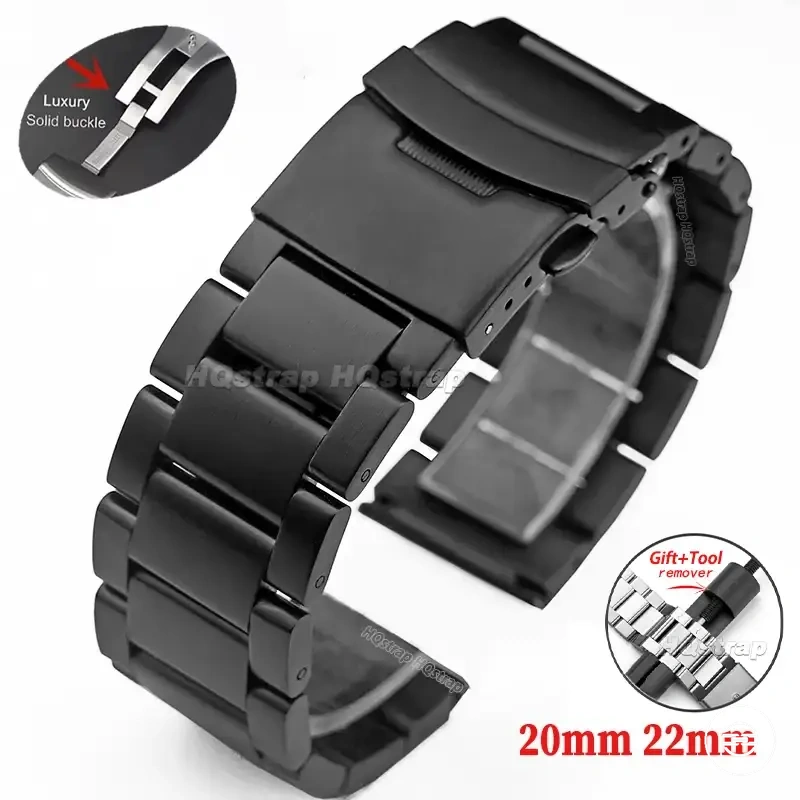
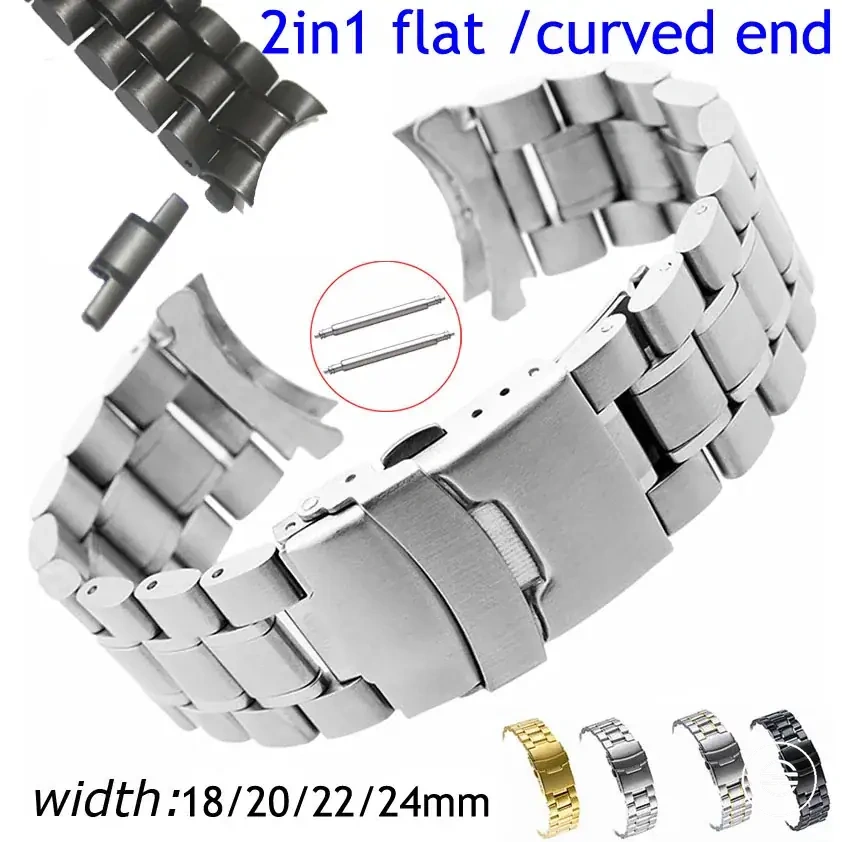
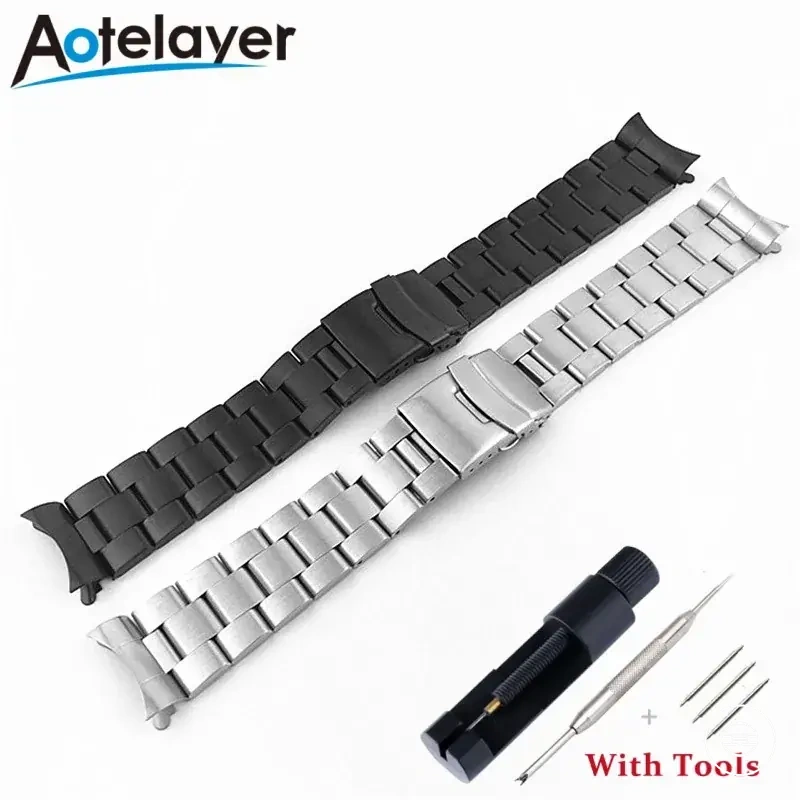
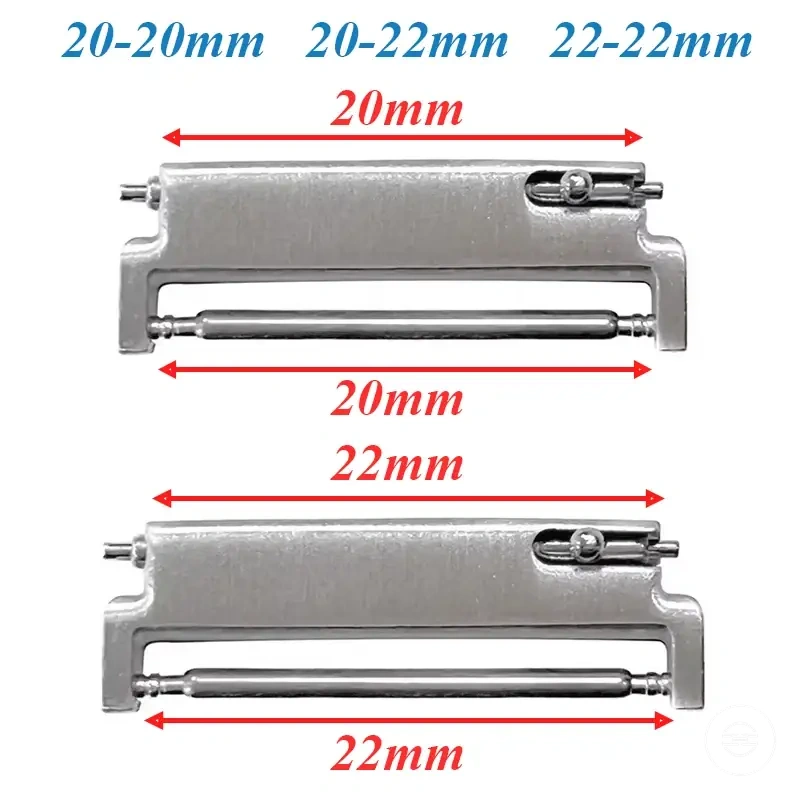
Here are product examples that may make comparison easier. Before buying, always review the compatibility criteria, essential features, and product details.
Lug Seating, End Gap, and Case Alignment
The lug area confirms whether the replacement band is properly seated in the watch case. Verify that both spring bar ends are fully engaged in the lug holes to confirm spring bar engagement.
A visible end gap does not always indicate a poor fit, especially with a straight end band. Inspect the following case-side checks to distinguish an acceptable visual gap from looseness or poor case alignment:
- Spring bar ends: Confirm both spring bar ends remain fully seated in the lug holes. Any end that lifts or shifts requires rechecking.
- End gap: Check whether the end gap is even along the case. A straight end band may leave a visible gap, but it should not feel loose or appear misaligned.
- Case alignment: Verify the band sits evenly between the lugs. Uneven case alignment can indicate incomplete seating.
- Band rubbing: Move the band through its normal range near the case edge. Band rubbing indicates the connection should be inspected again.
- Side movement: Gently test for side movement at the lug area. Abnormal movement can indicate that the spring bar ends require rechecking.
Wrist Comfort and Band Security Check
Wrist comfort is checked after the case attachment is secure. Confirm both comfort and watch-head stability before regular wear.
If the band is secure at the case but feels uncomfortable on the wrist, the attachment may still be correct. Link adjustment may be needed when band tightness, clasp position, or link articulation causes discomfort during normal wear. Use the following checklist to assess wearability after attachment:
- Clasp closure: Close the clasp and confirm it remains secure during normal wrist movement. If it opens unexpectedly, recheck the band security before wearing.
- Band tightness: Check whether the band feels secure without creating persistent pressure. Ongoing discomfort can signal that link adjustment is needed.
- Link articulation: Move the wrist naturally and confirm the links articulate without binding. Restricted movement can indicate that the wrist fit should be reassessed.
- Pinch points: Check for pinching during normal motion. Repeated pinch points indicate that the fit requires adjustment before regular wear.
- Watch-head stability: Observe whether the watch head remains reasonably stable during everyday movement. Excessive shifting can signal that the wrist fit needs rechecking.
- Wrist movement: Move the wrist through normal motion and note whether the band remains secure and comfortable. If the case attachment is secure but discomfort continues, consider link adjustment.
Replacement Mistakes That Can Damage the Watch or Band
Most replacement mistakes result from force, mismatched parts, or unchecked seating. These installation errors can increase the risk of a scratched case, bent spring bars, or a loose band depending on the watch design and part condition. Prevention starts with recognising these damage risks before continuing.
Stop when parts become stuck or repeated fitting attempts do not improve the connection. Do not continue if screws are stripped, lugs are damaged, lug-hole engagement cannot be confirmed, or looseness keeps returning. Use the table below to match each mistake with its risk and a safer correction.
| Mistake | Damage risk | Safer correction |
|---|---|---|
| Forcing mismatched band ends | Can increase scratch risk around the lugs and create an unsafe fit. | Stop and confirm that the band ends match the watch before applying more force. |
| Using sharp improvised tools | May slip and cause a scratched case or damaged band surface. | Use a suitable watch band tool and stop if the part remains stuck. |
| Reusing weak spring bars | Can contribute to bent spring bars, movement, or a loose band. | Replace spring bars that appear worn, bent, or weak before fitting the band. |
| Missing lug-hole engagement | Can create false seating and reduce band security. | Confirm both spring bar ends engage the lug holes and use a gentle tug check. |
| Over-compressing spring bars | May bend the spring bars or make correct seating more difficult. | Compress only enough to position the band between the lugs. |
| Ignoring post-install movement | Can leave recurring looseness or an unsafe fit unnoticed. | Recheck the connection when abnormal movement remains after installation. |
If looseness keeps returning or screws become stripped, the issue may extend beyond basic replacement prevention. Damaged lugs, recurring post-install movement, or stripped components are signals to continue with metal watch band troubleshooting.